s

SmellyBlog

Autumn Leaves Nerikoh

Autumn Leaves Nerikoh
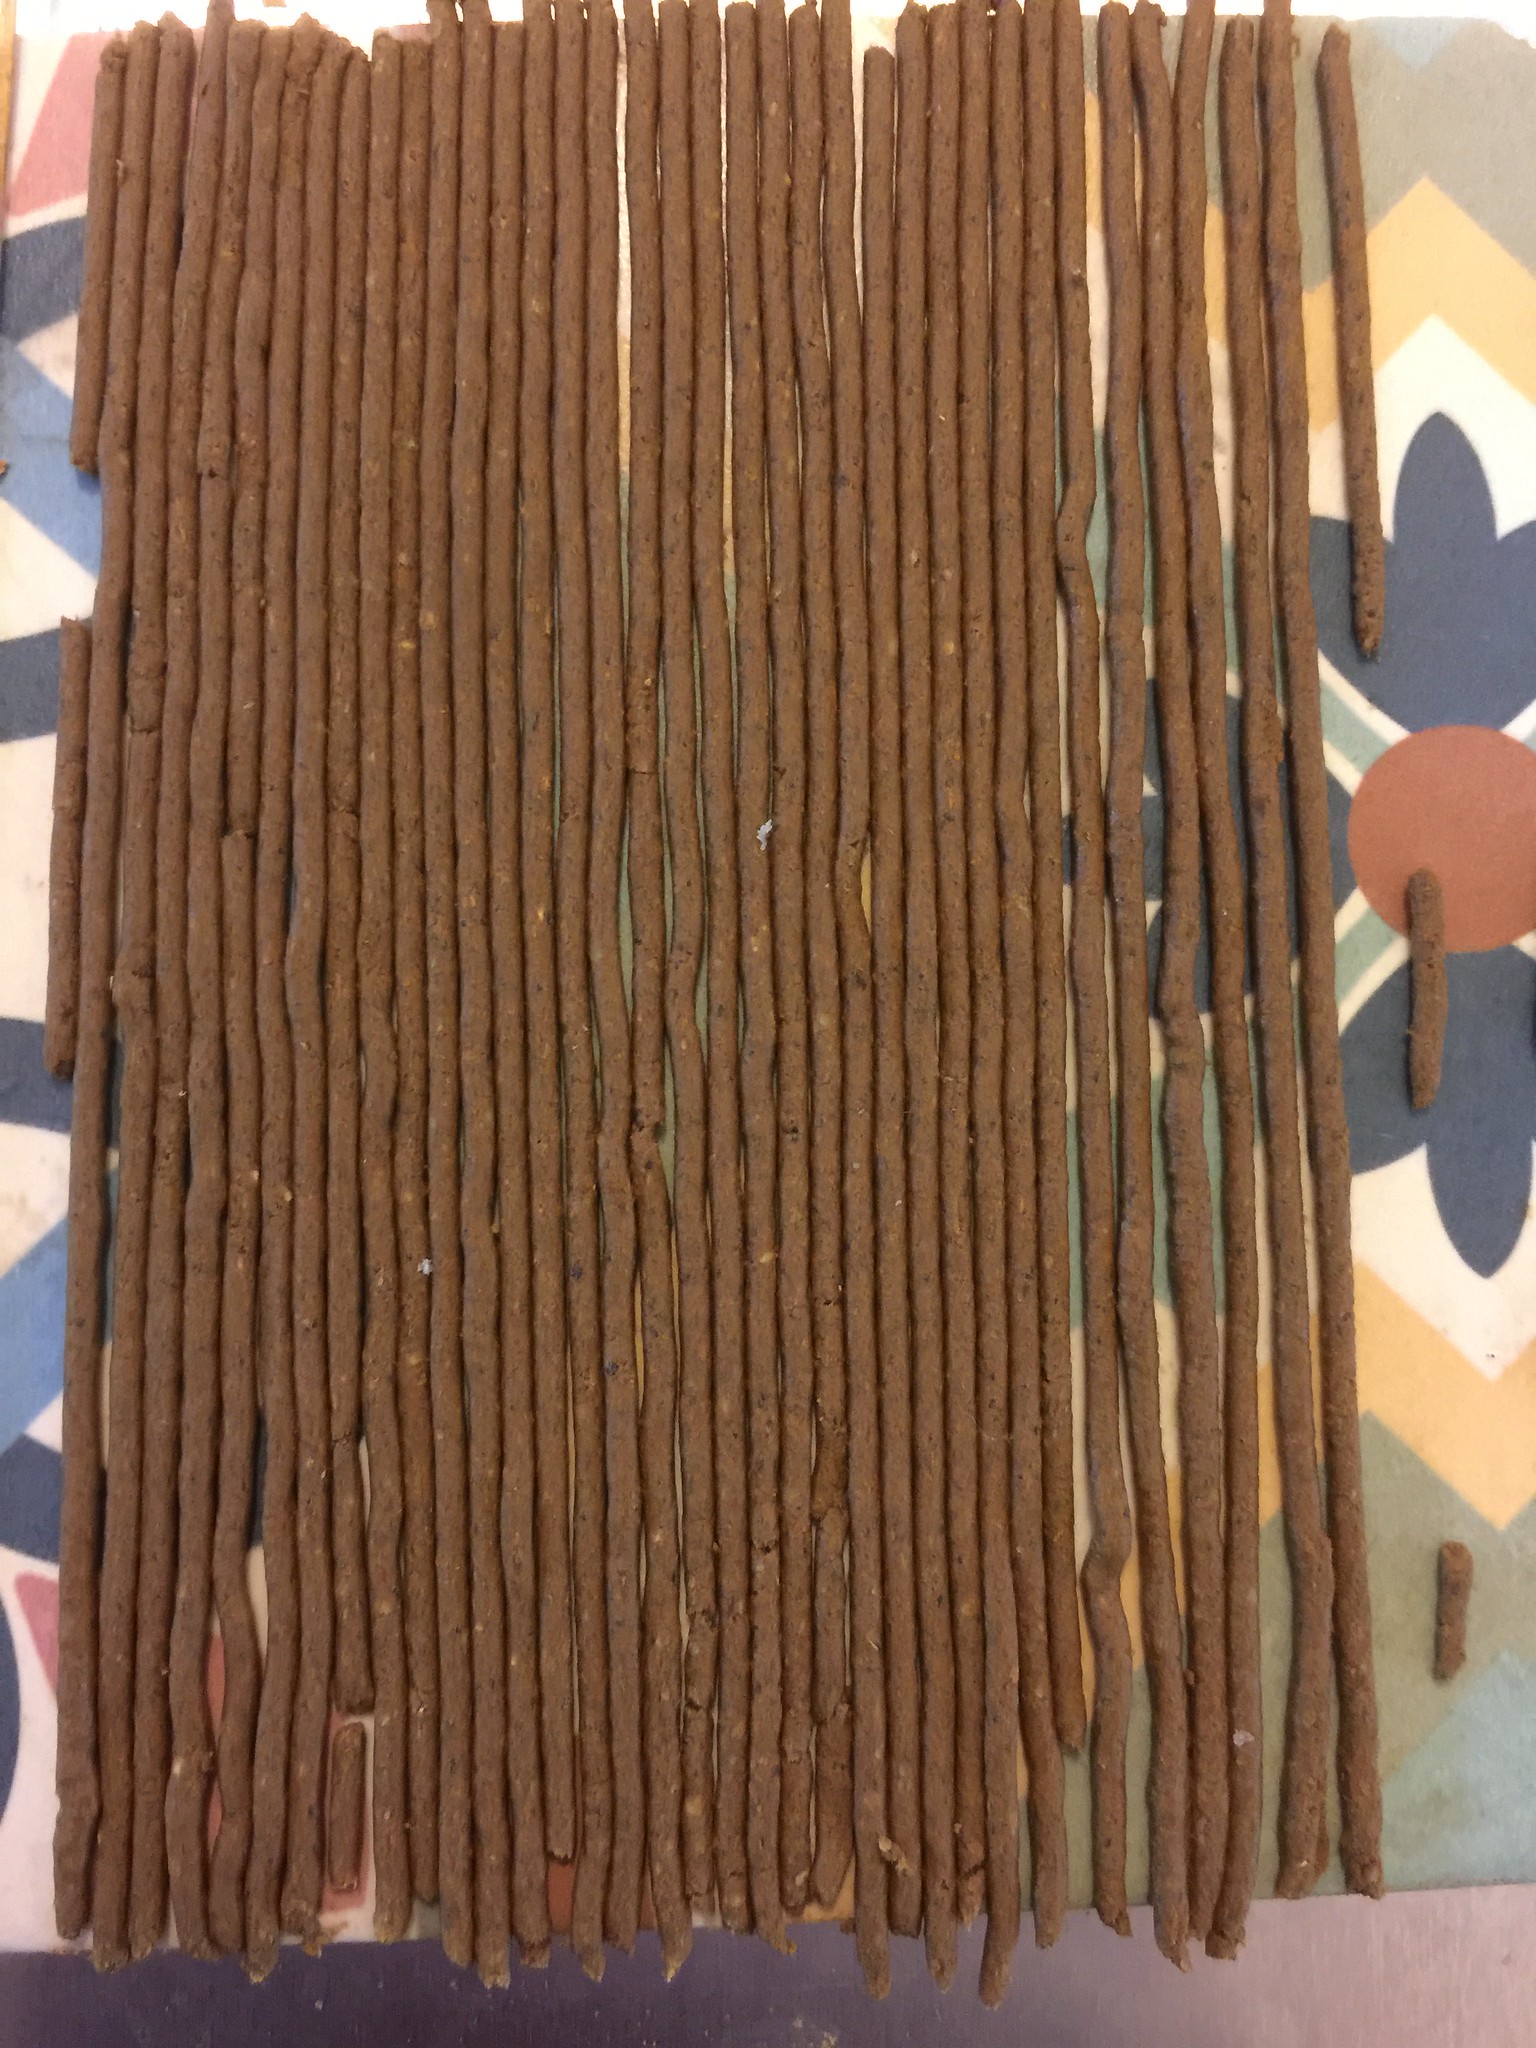
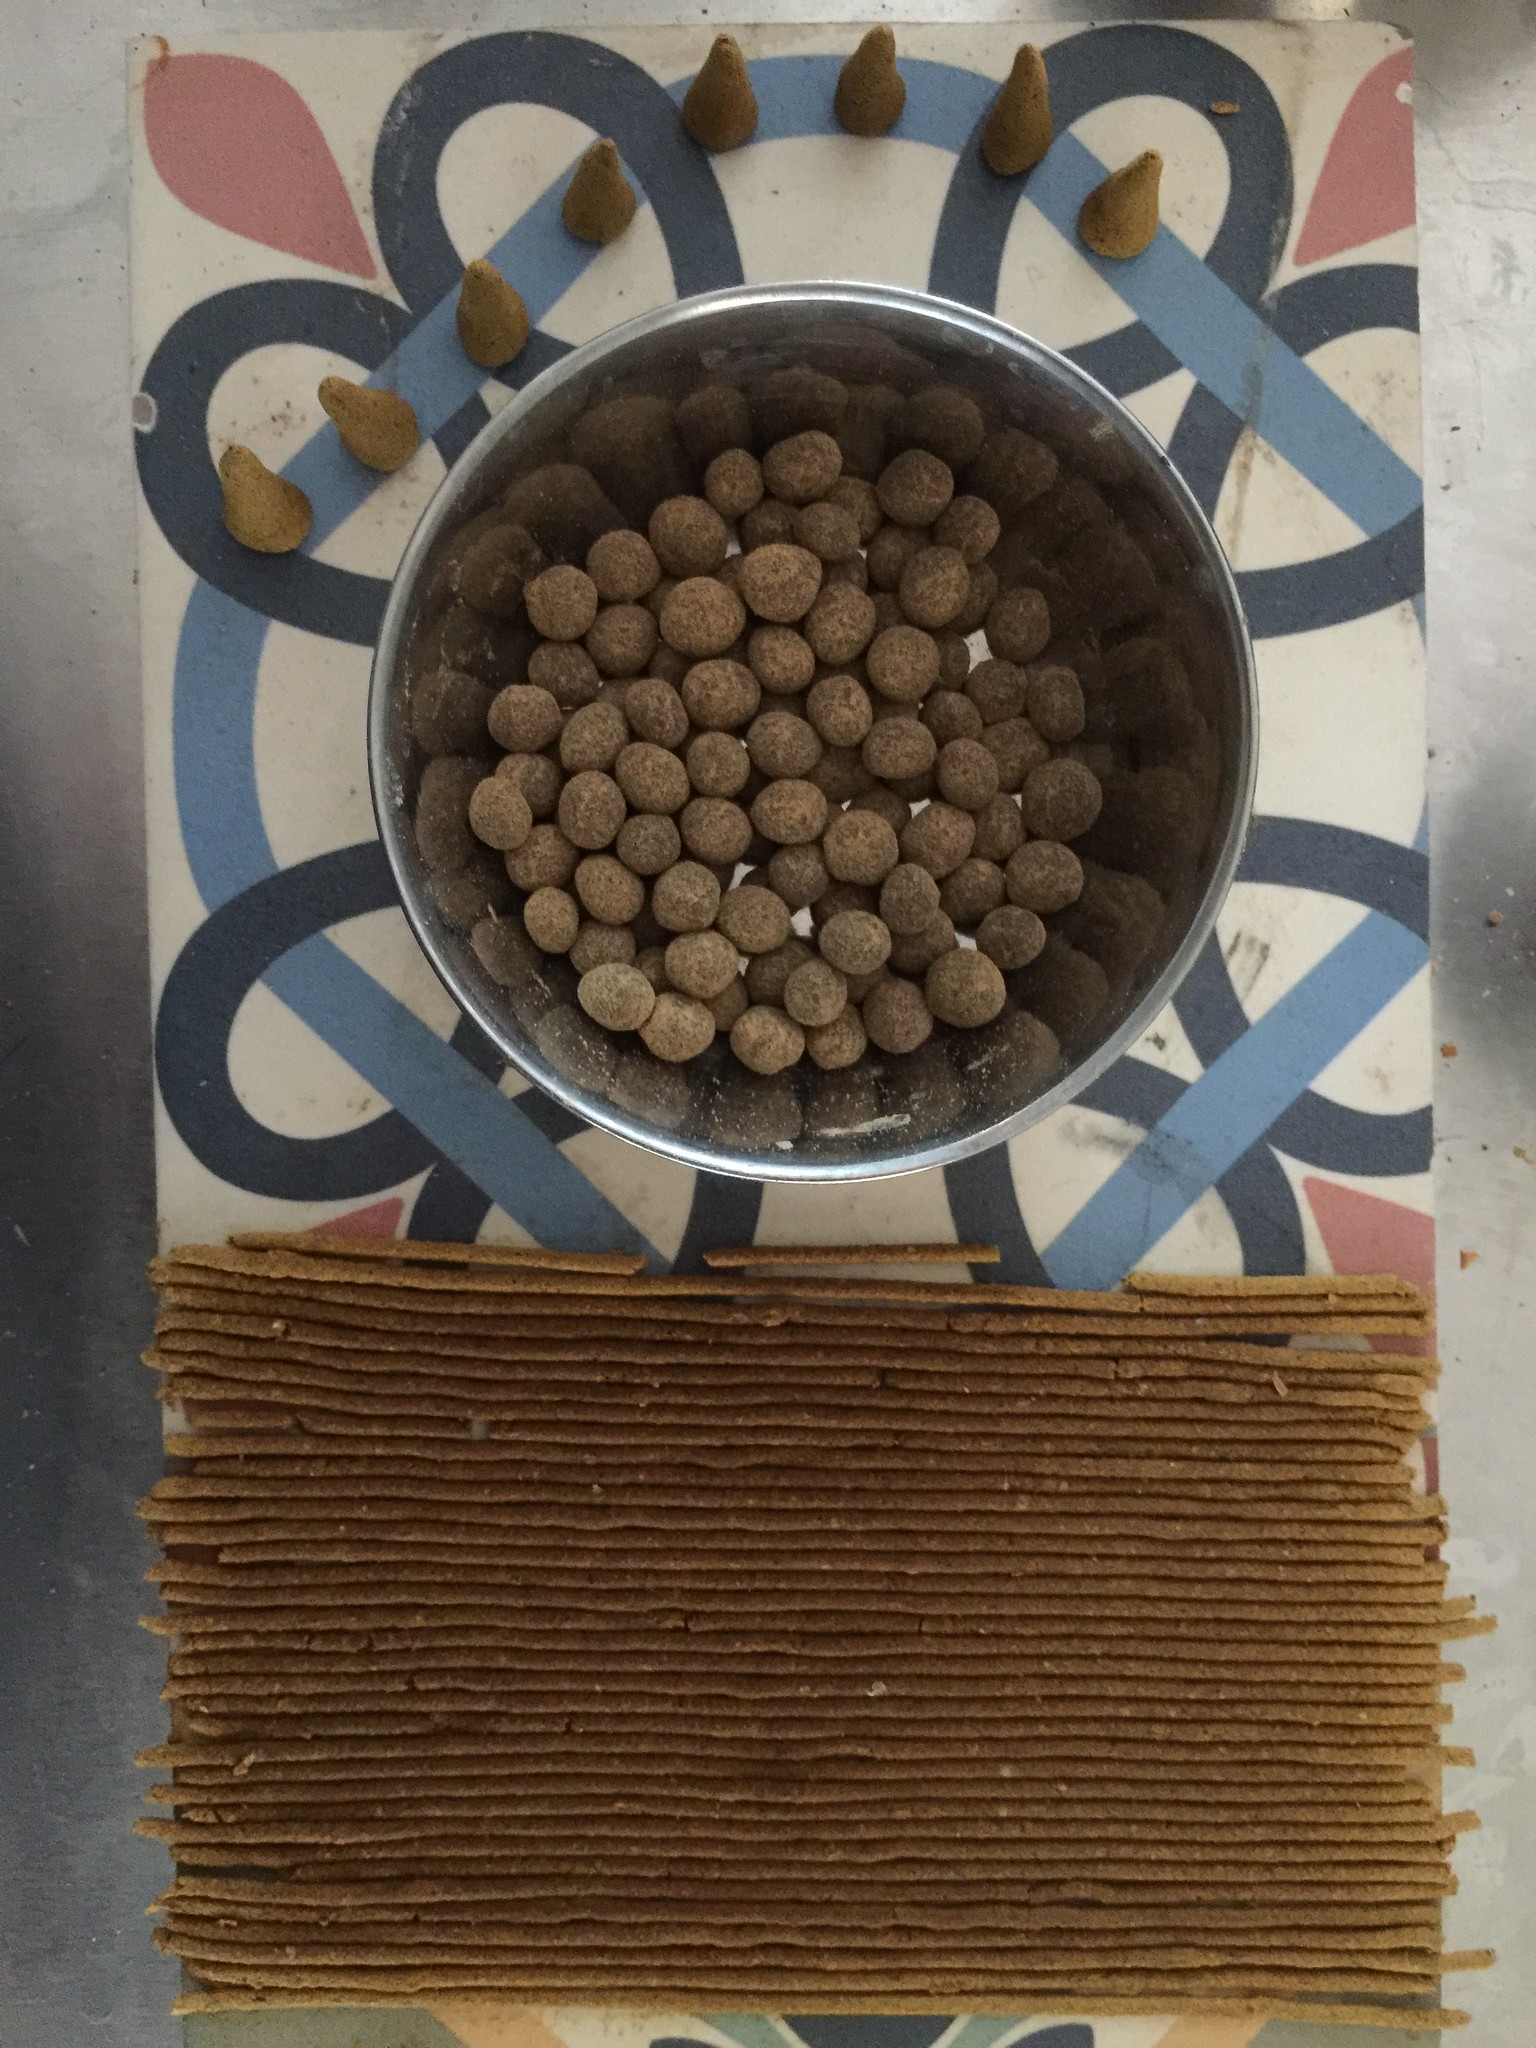
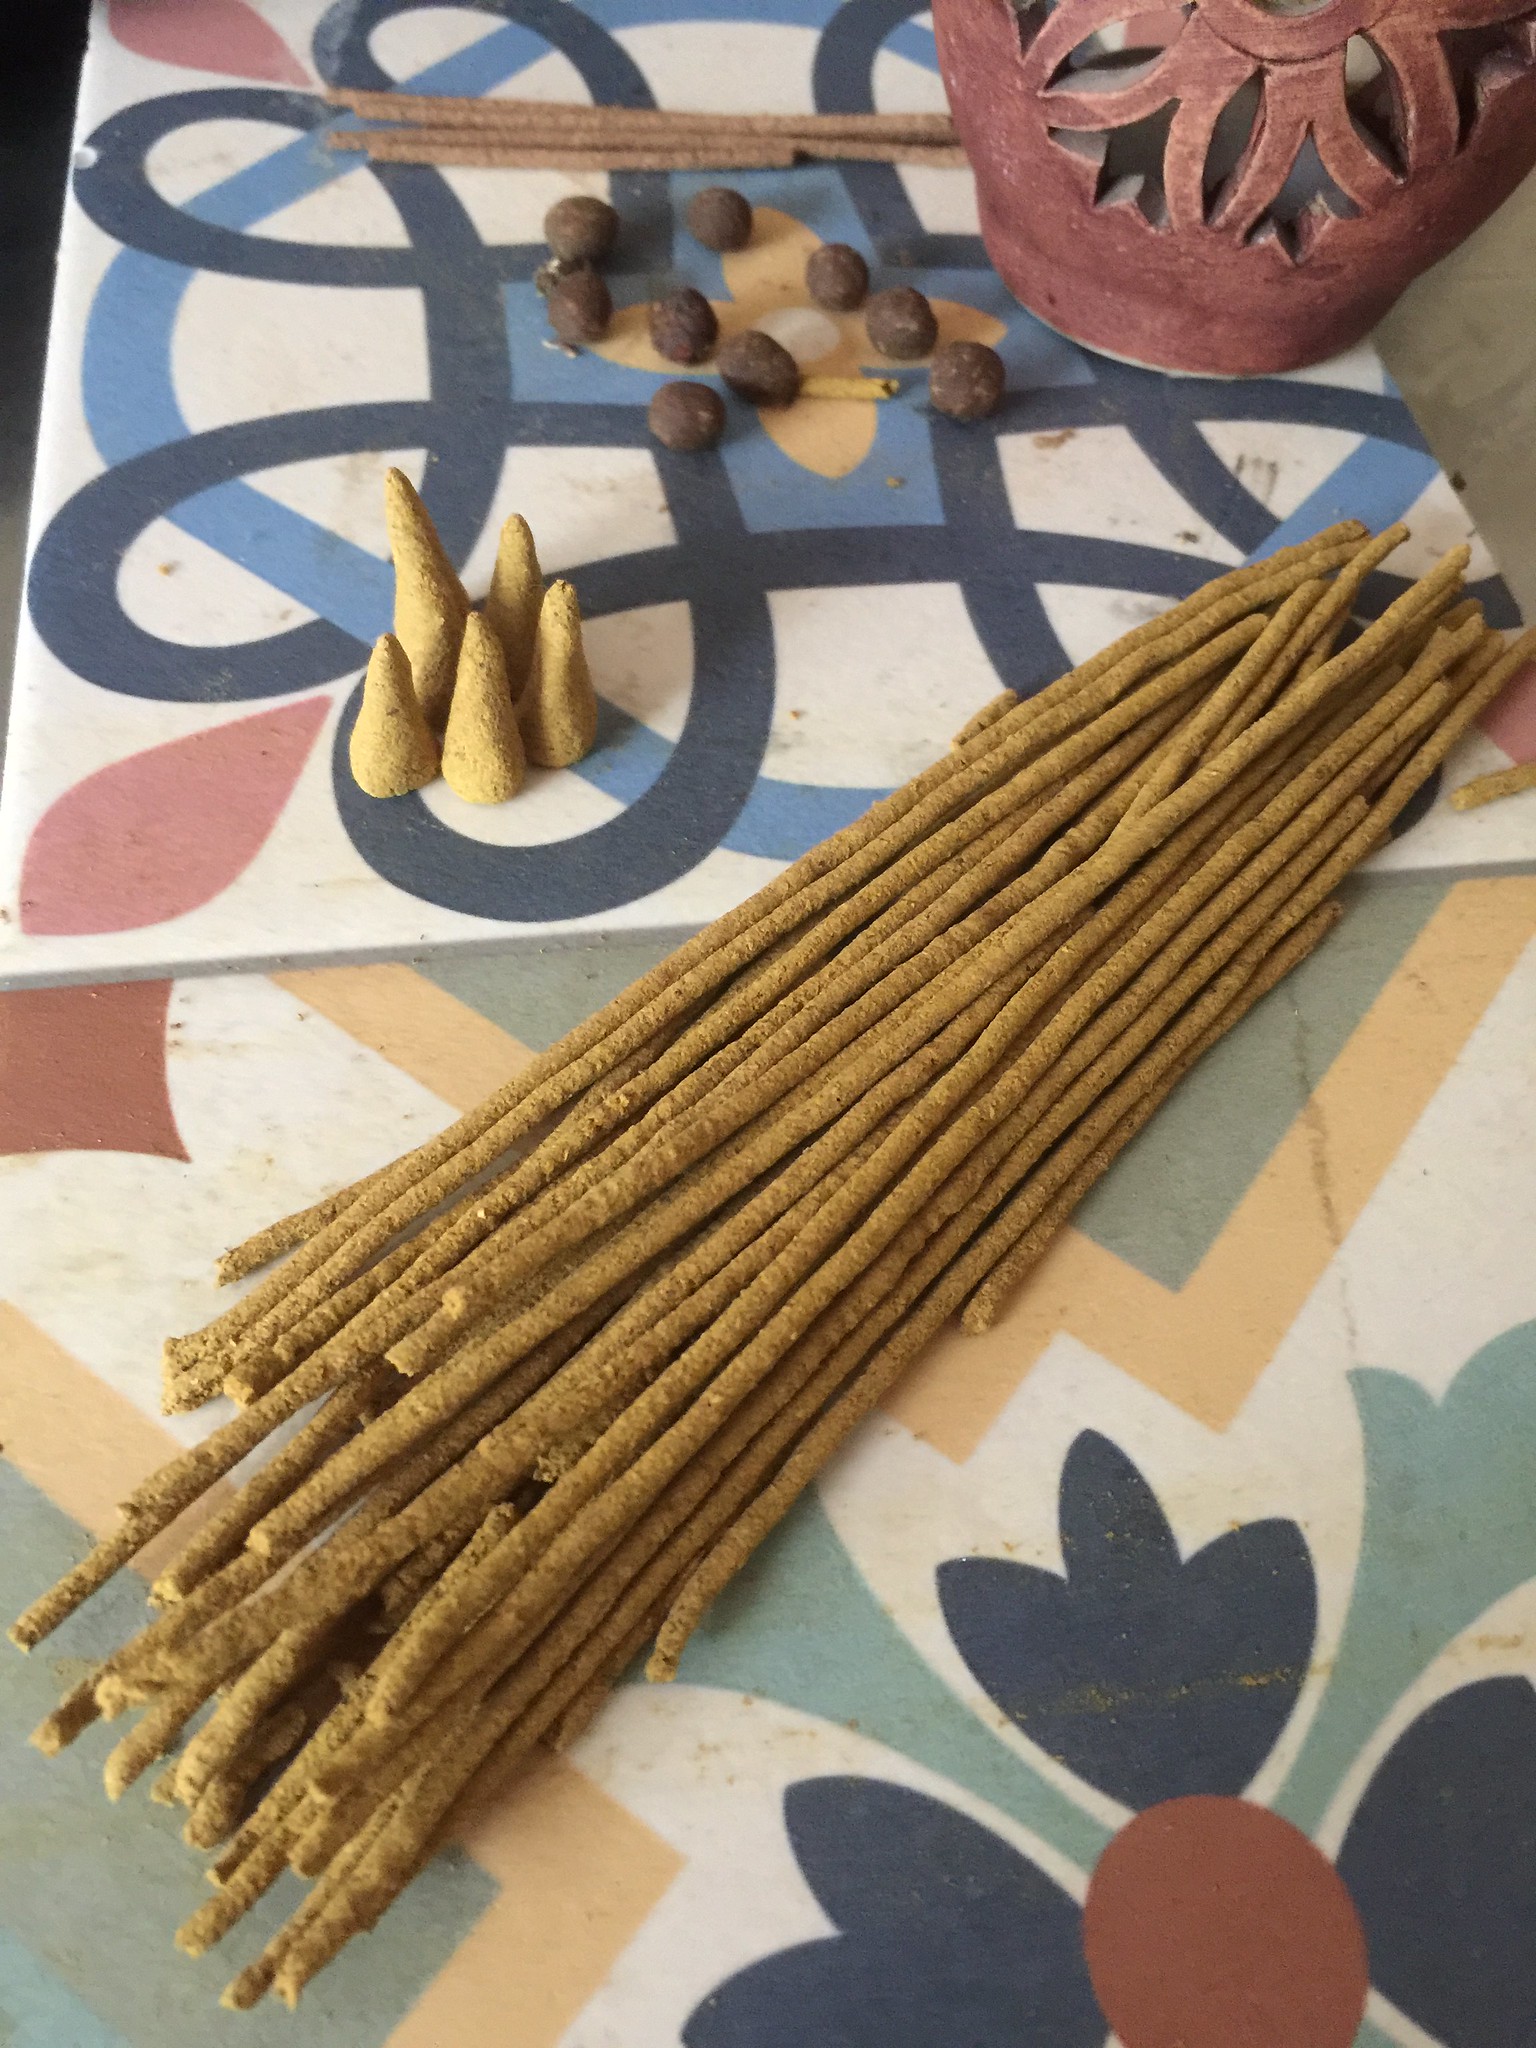
Incense is occupying my mind a lot these days, as well as most of my creative endeavours. I'm working on different techniques, and also adaptations of some of my perfumes into incense form. The Japanese art of incense is poetic and technically versatile in a way that sparks my imagination.

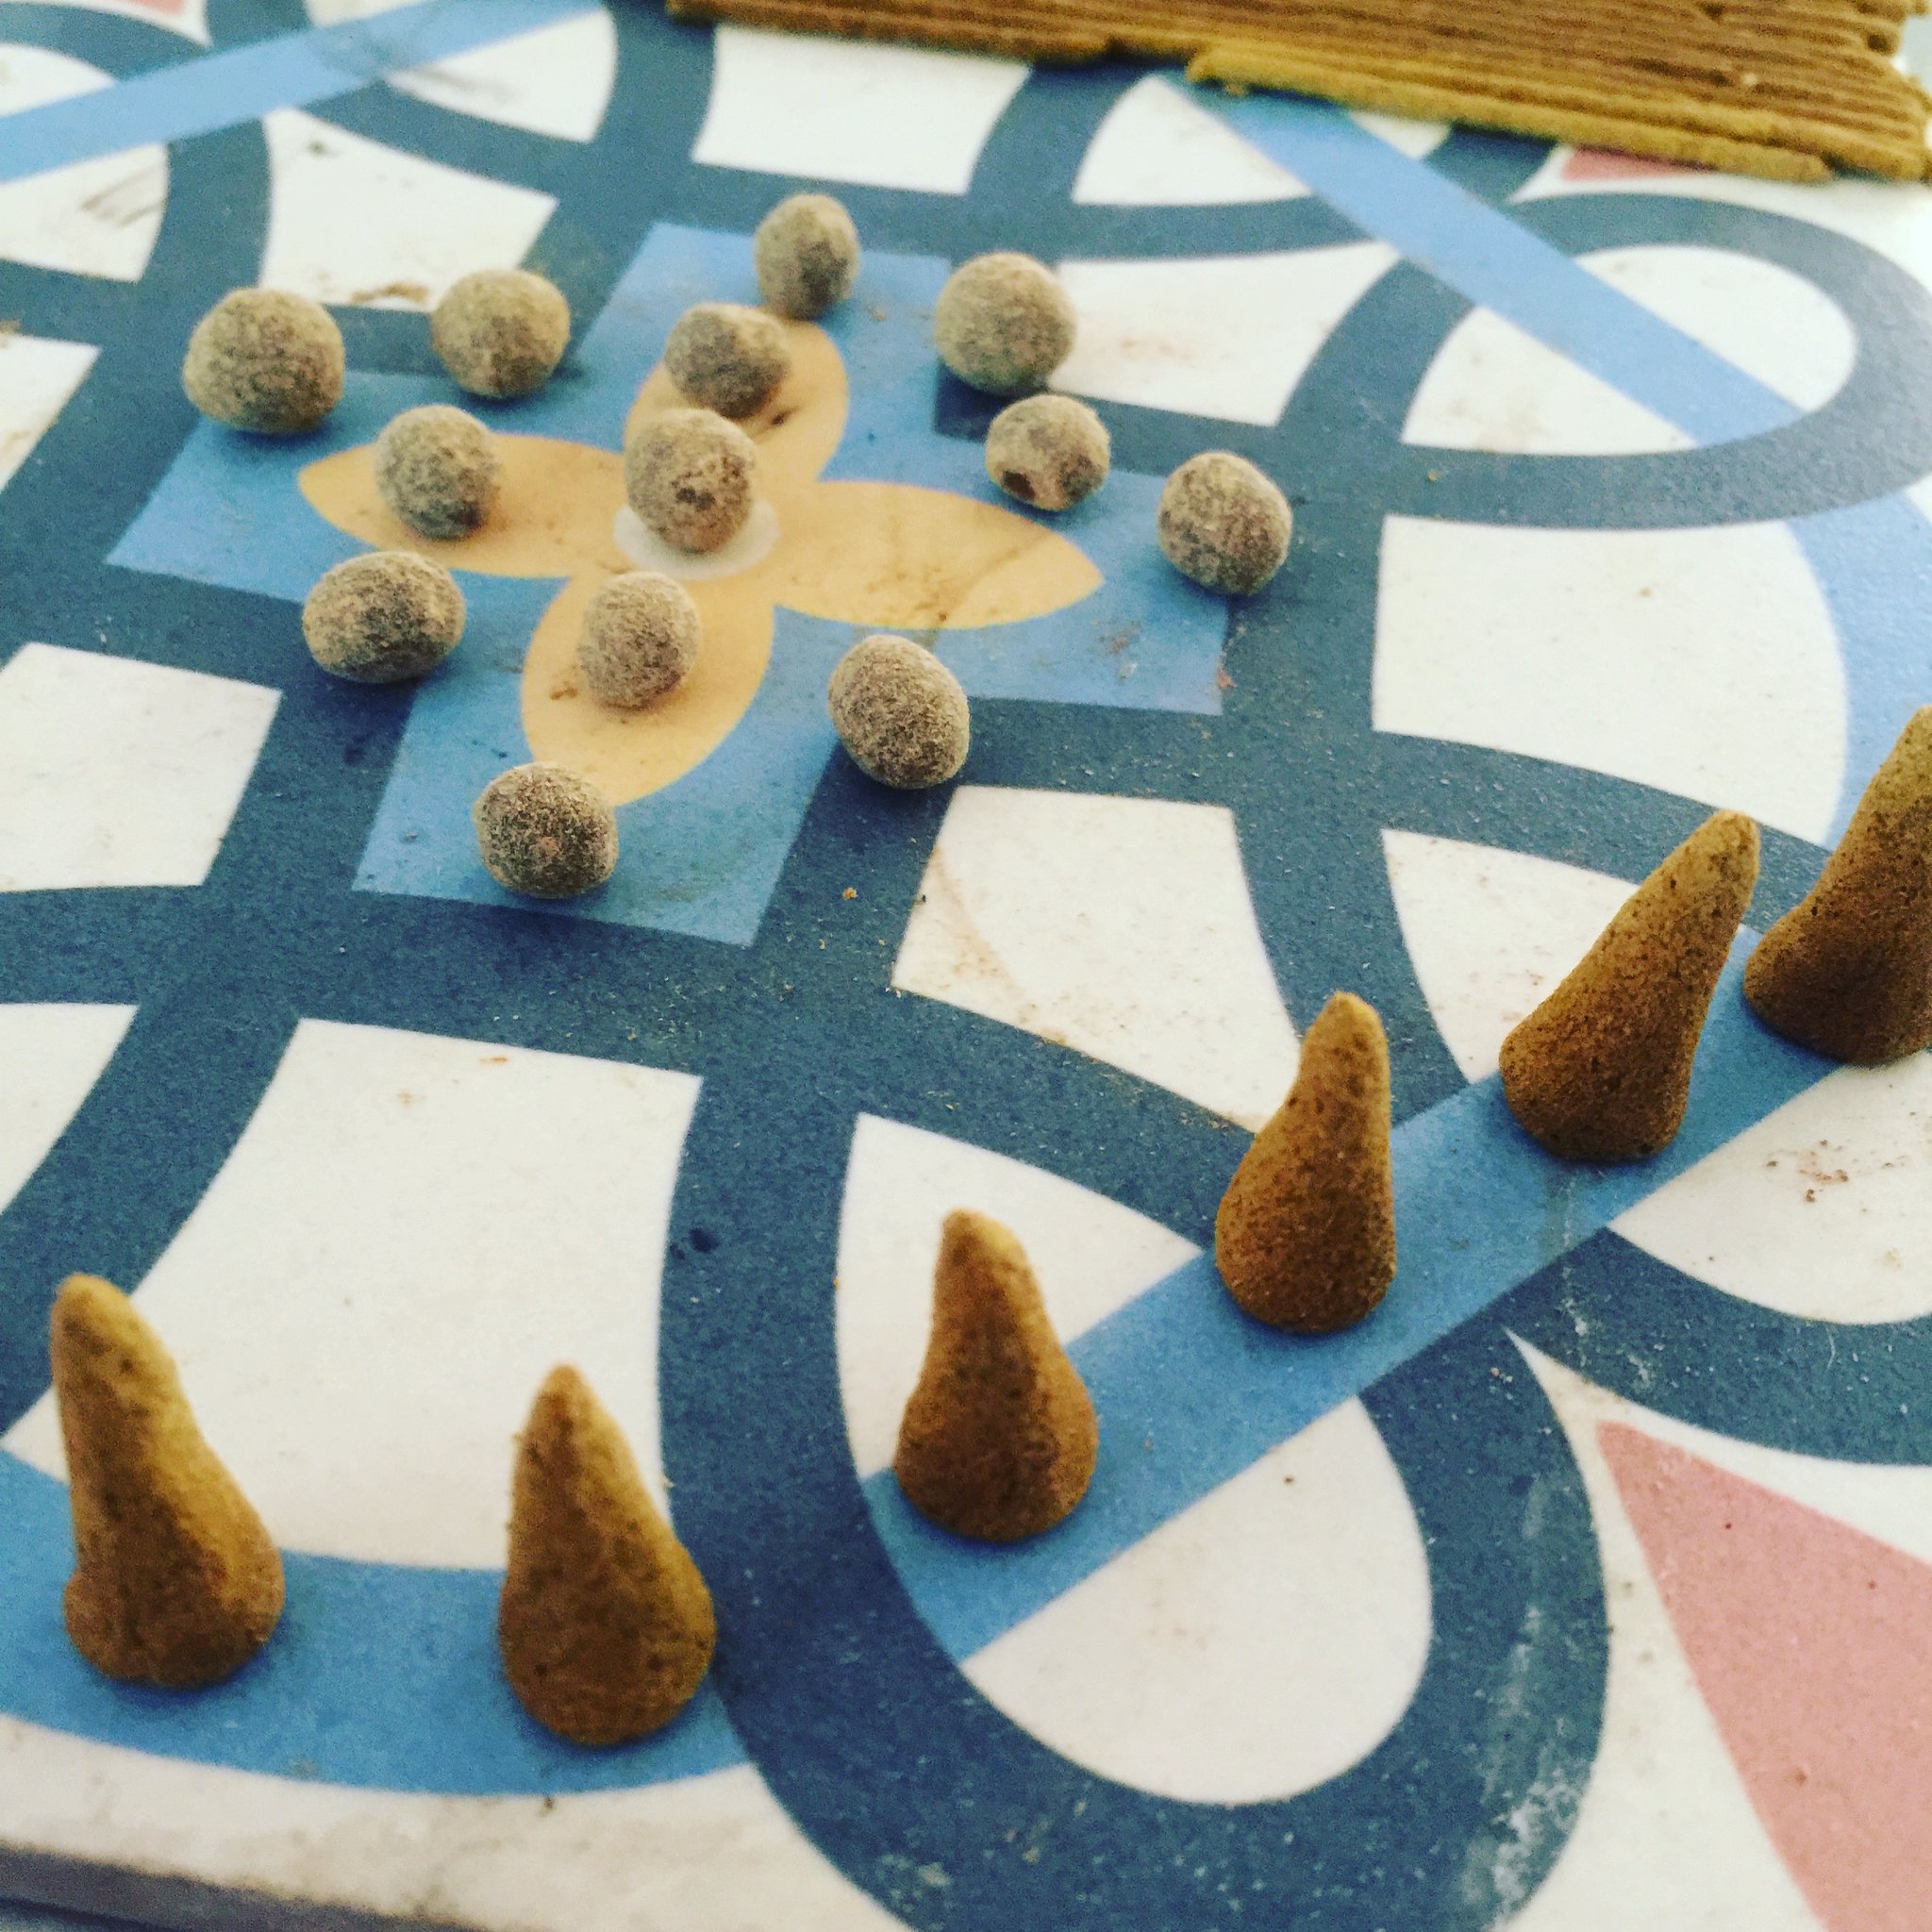
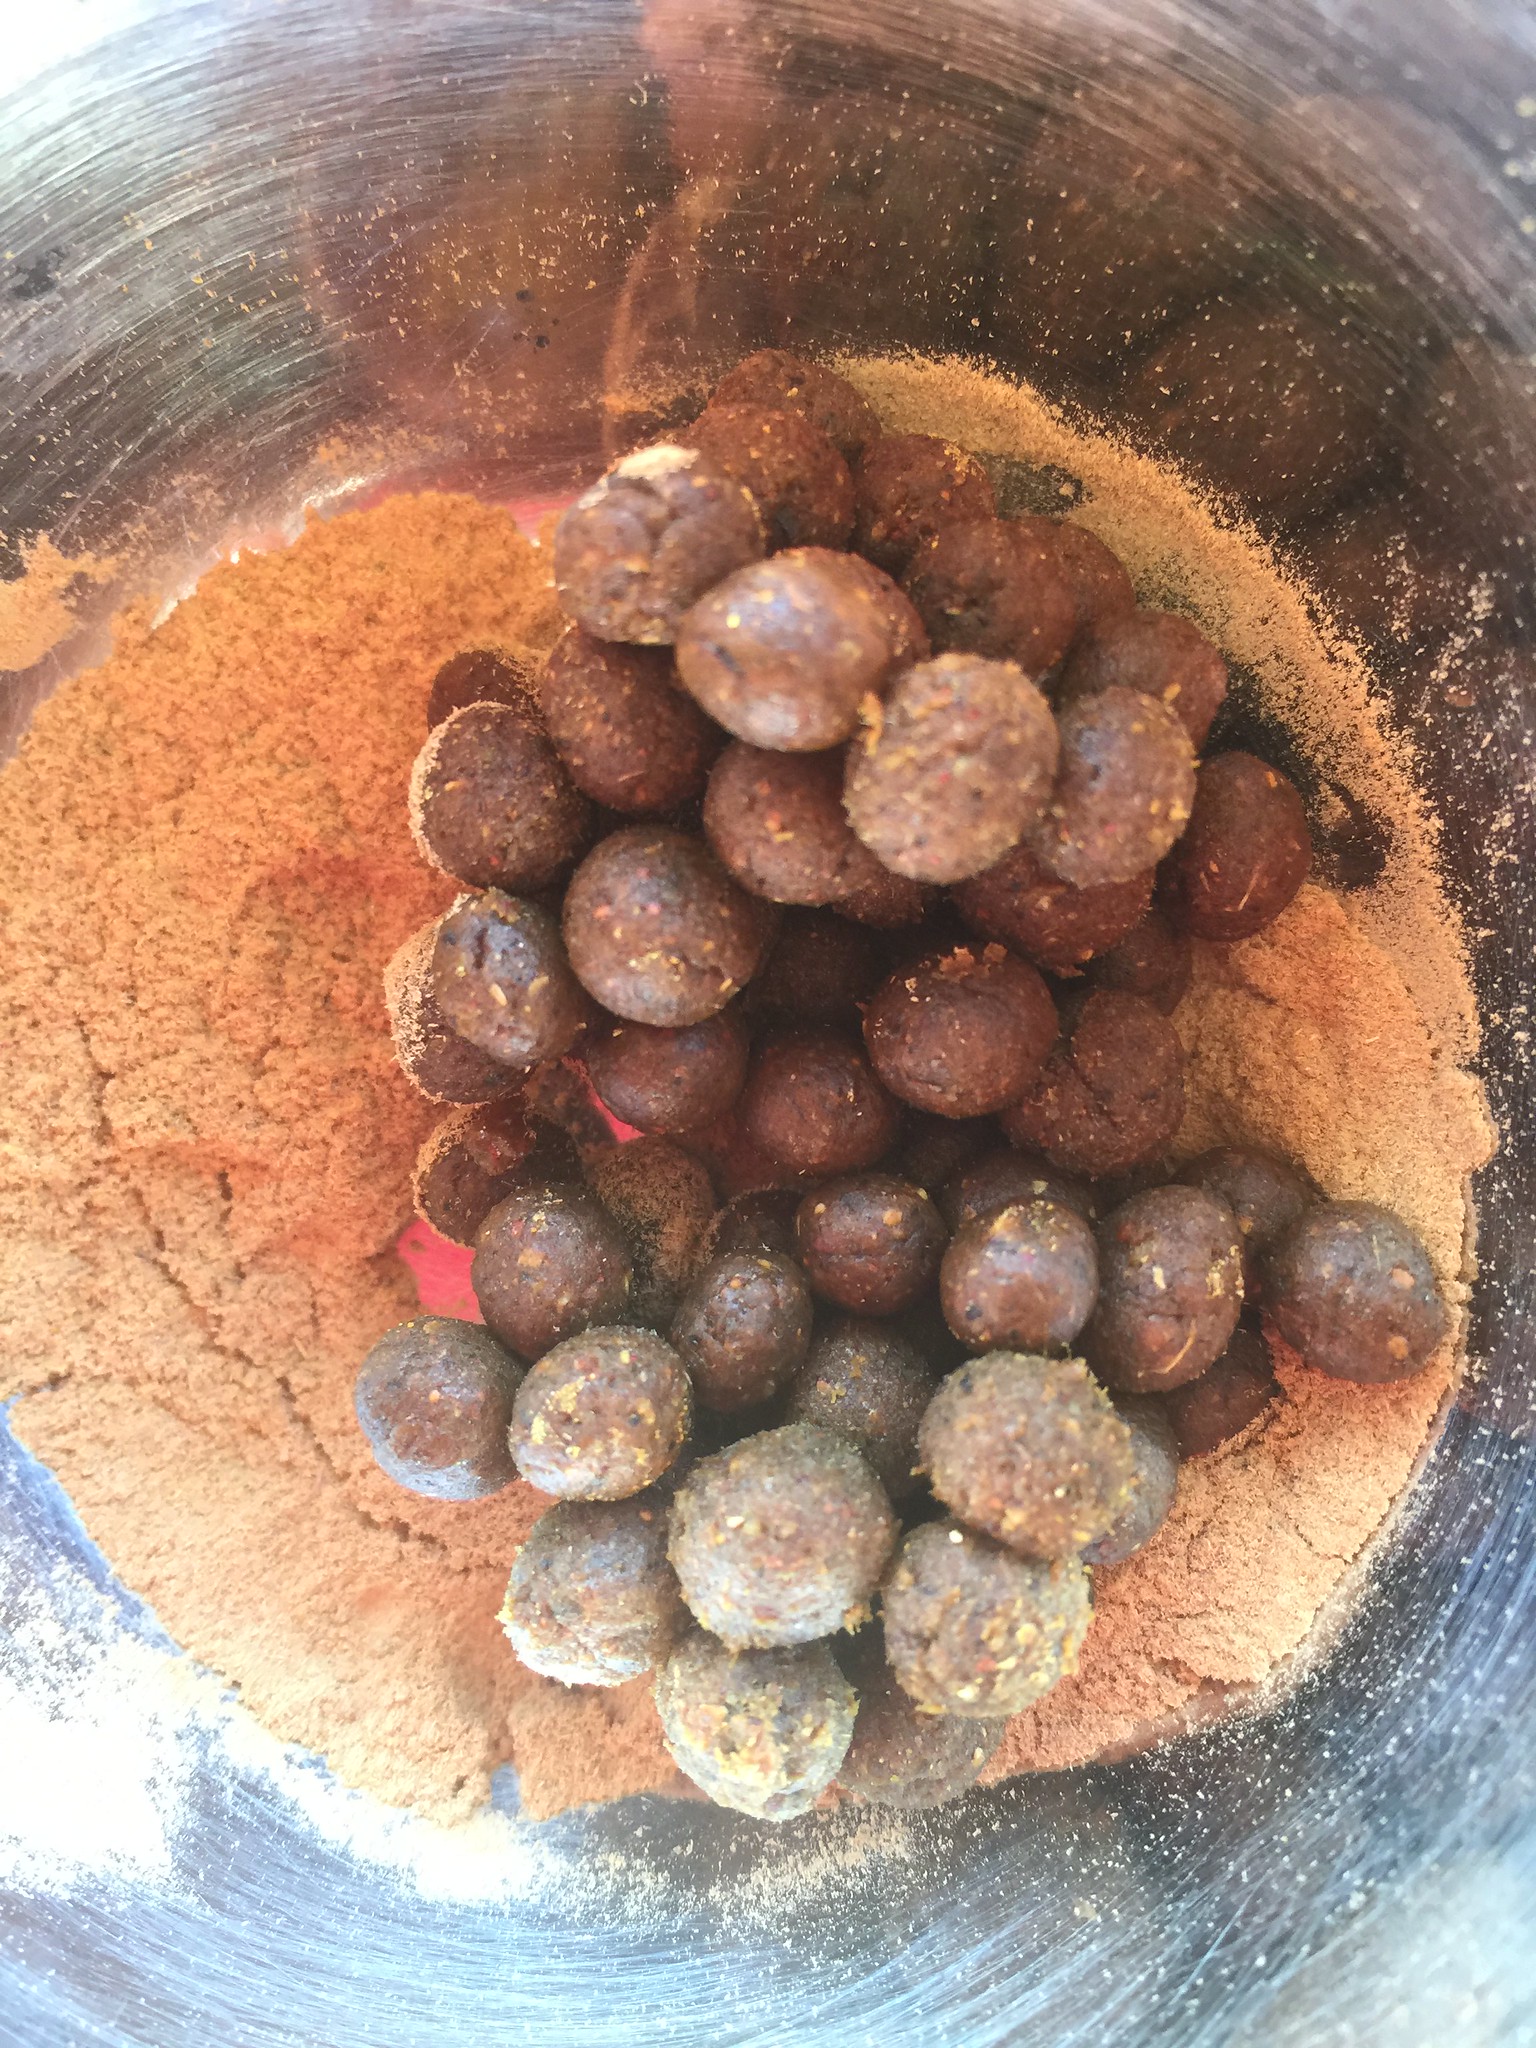
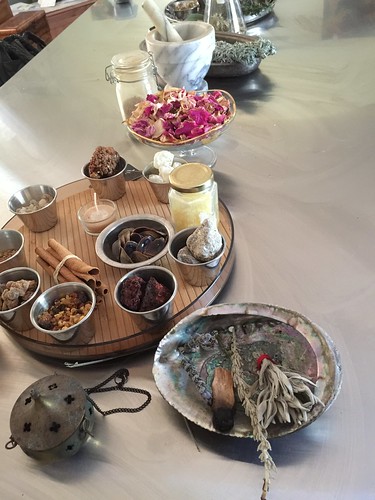
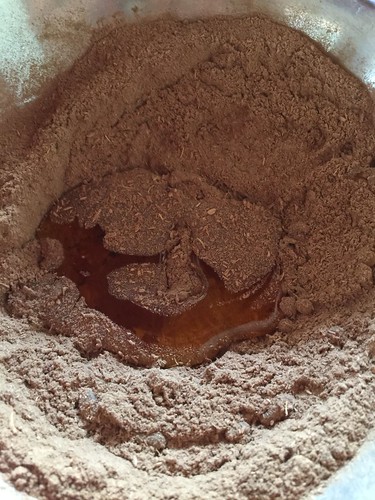
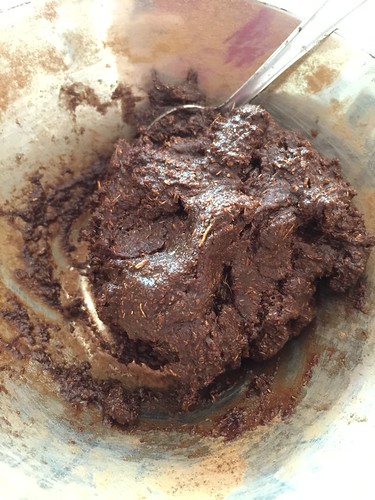
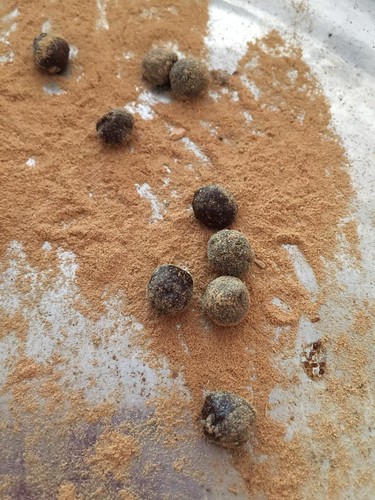
Today I've tried my hand at crafting Nerikoh (kneaded incense) using dried fruit instead of honey. I notice apricot used in several of the Nerikoh offerings from Shoyeido, so I decided to give it a try. It seemed especially befitting for an adaptation of Autumn perfume that I wanted to make. It's akin to translating an idea from perfume into incense format.
Autumn Leaves Nerikoh
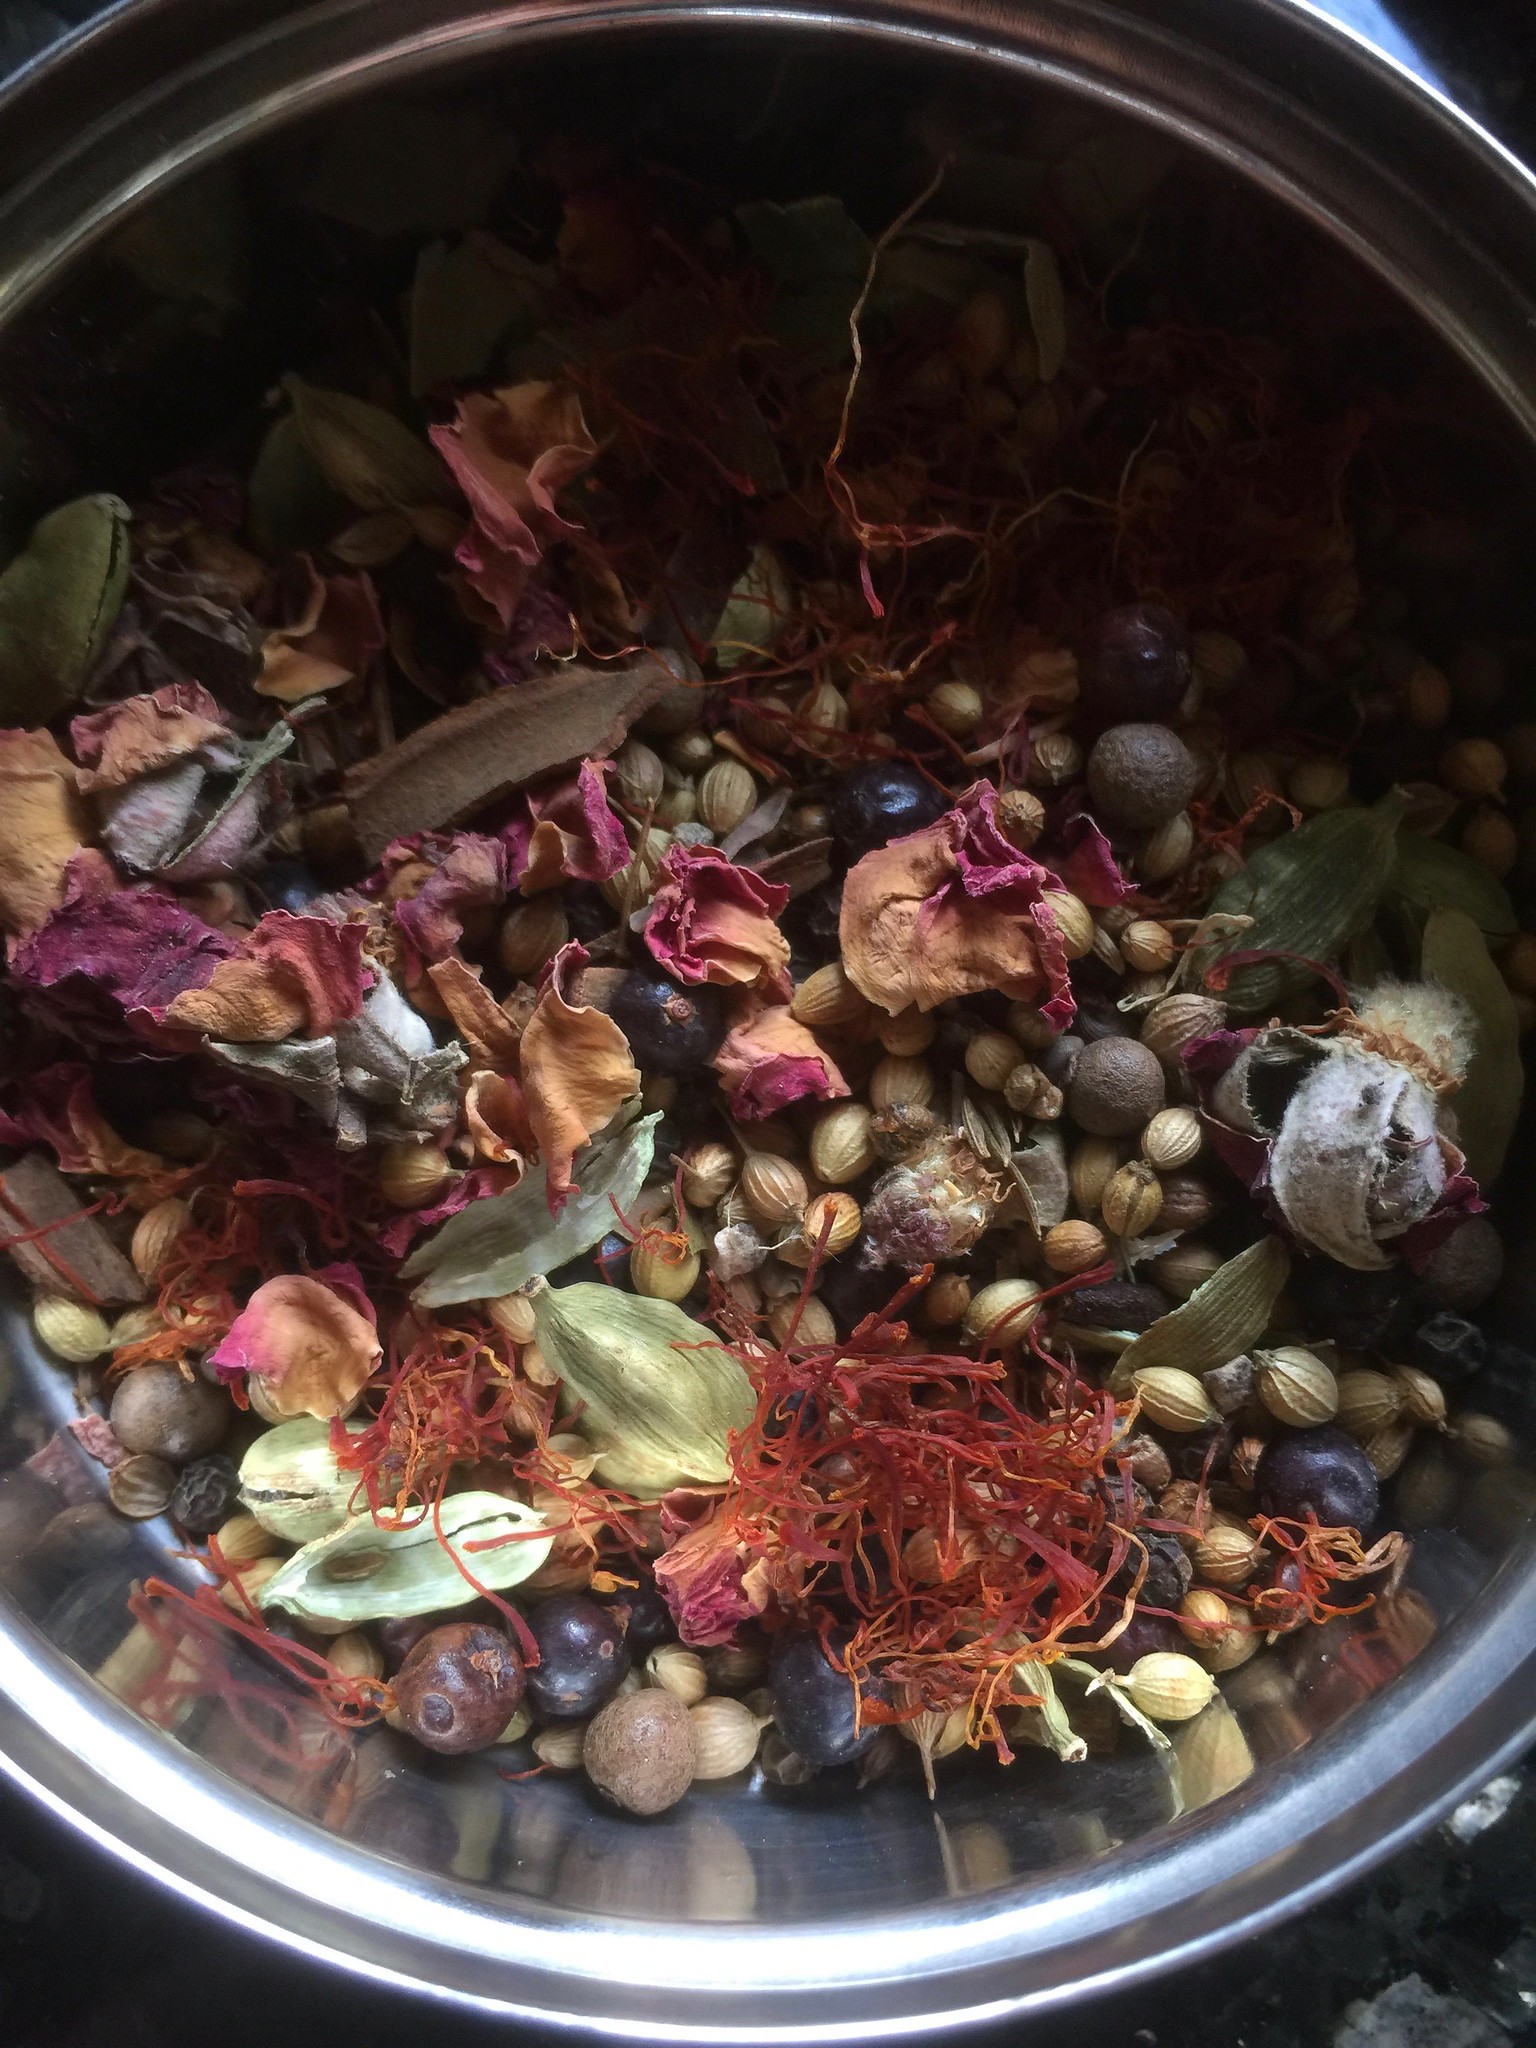
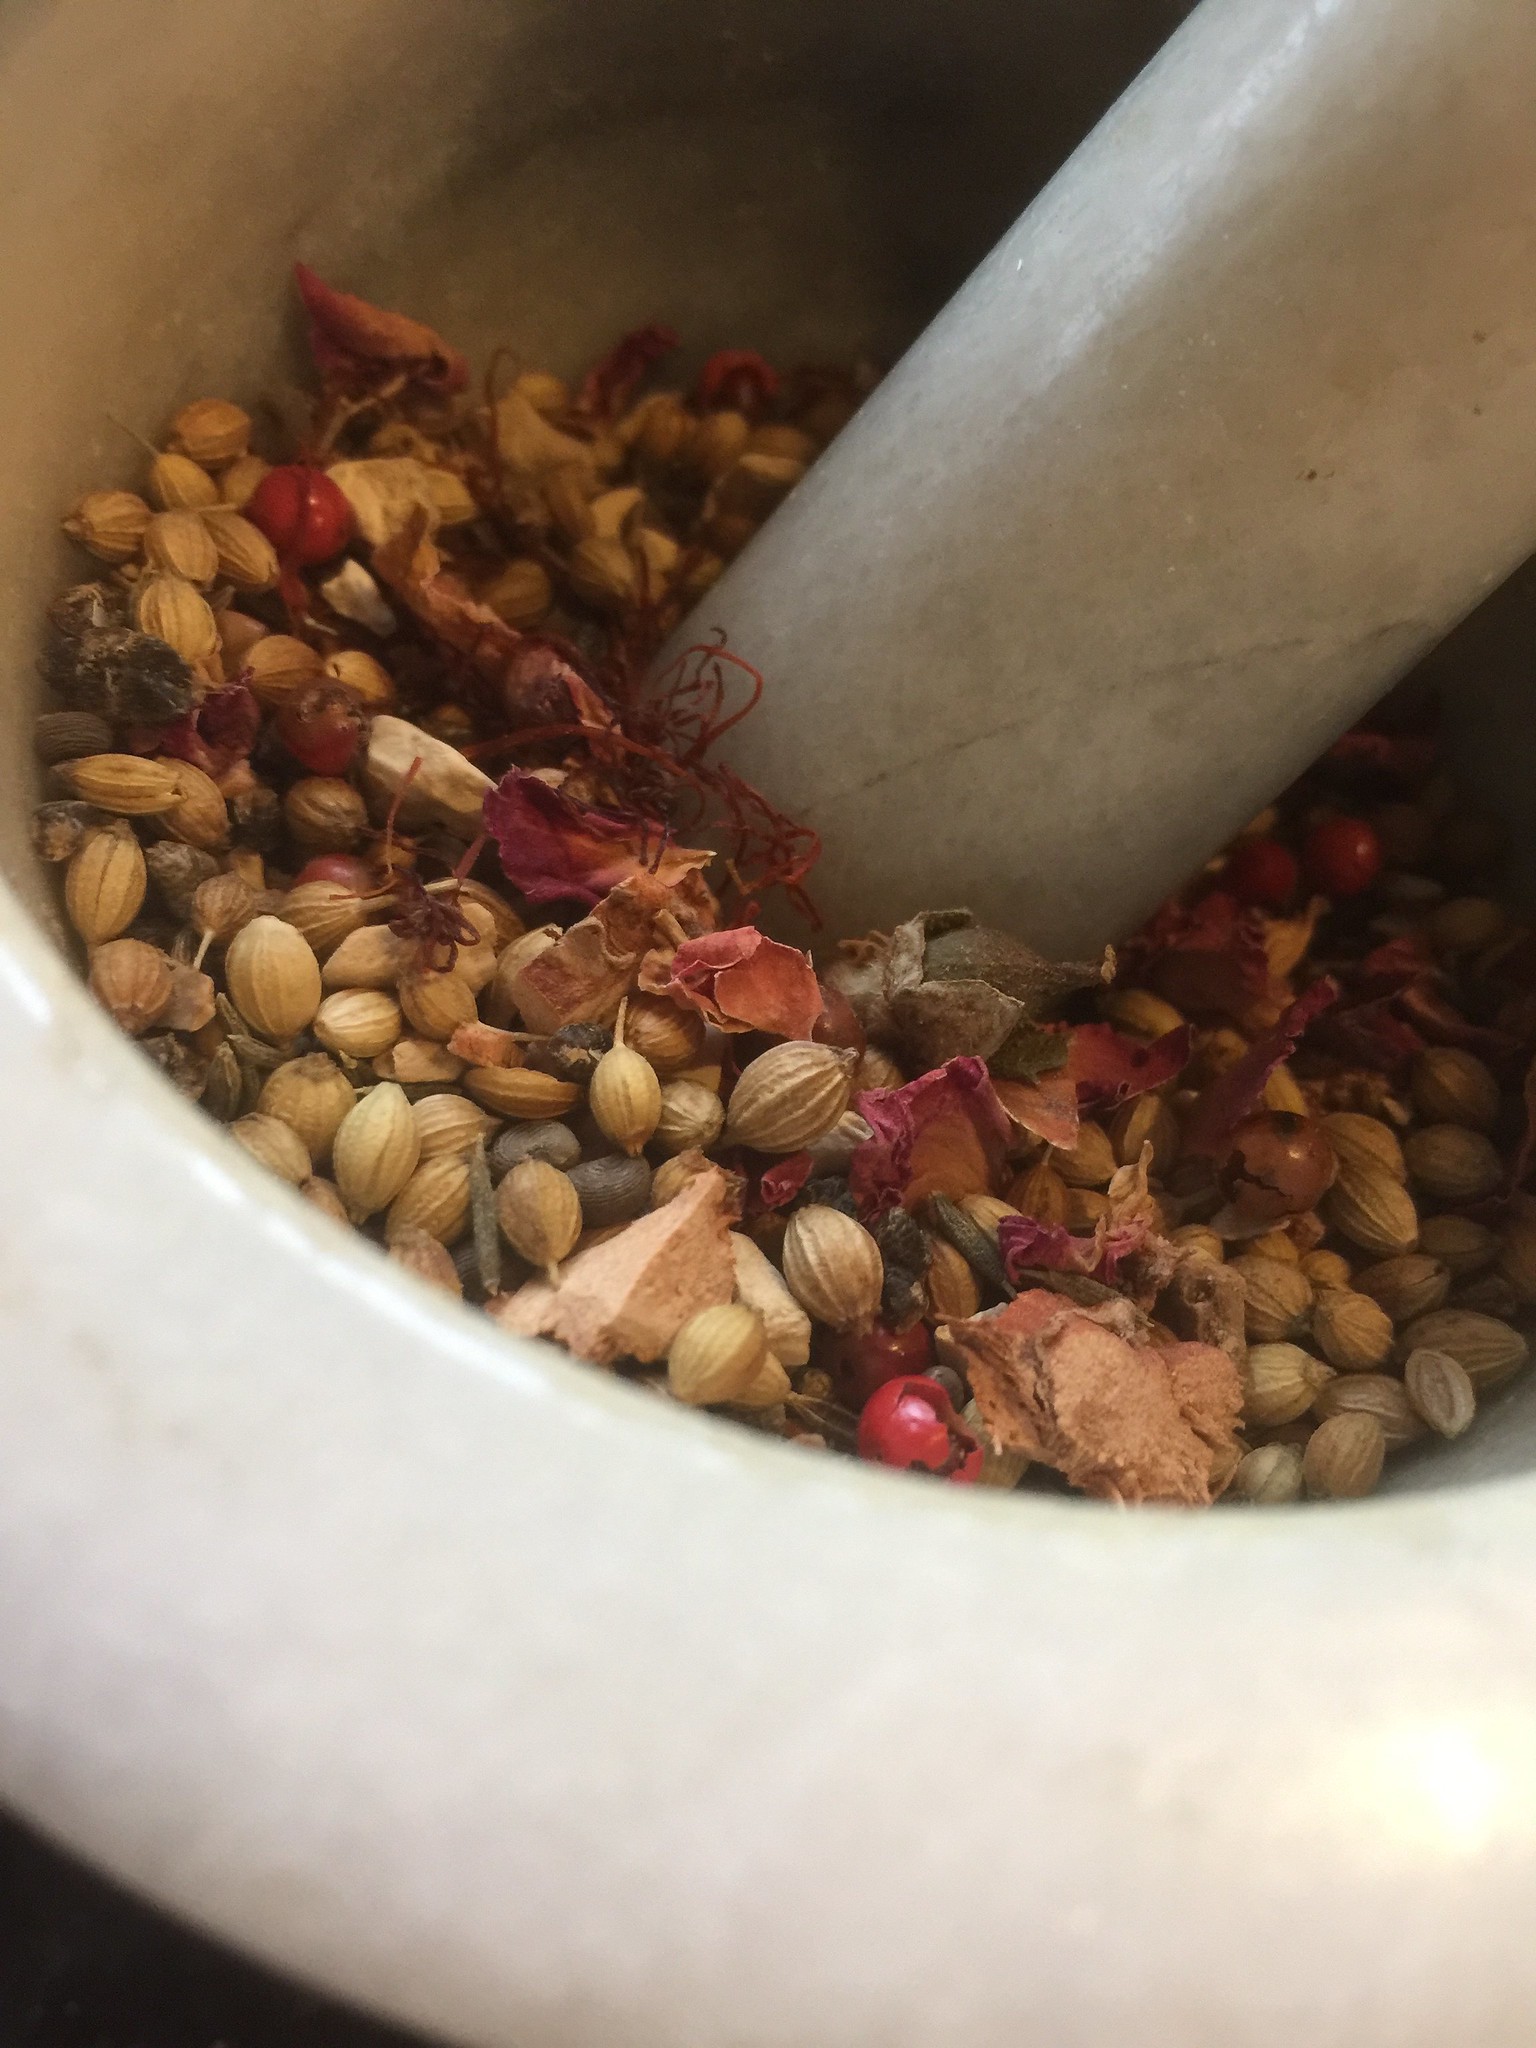
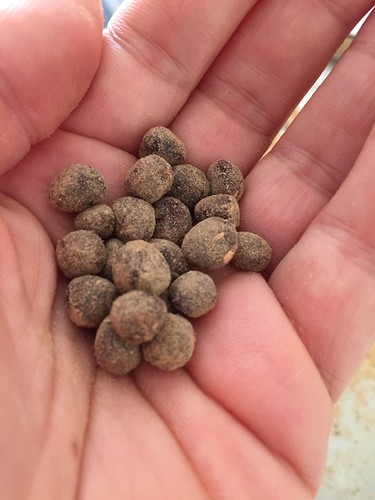
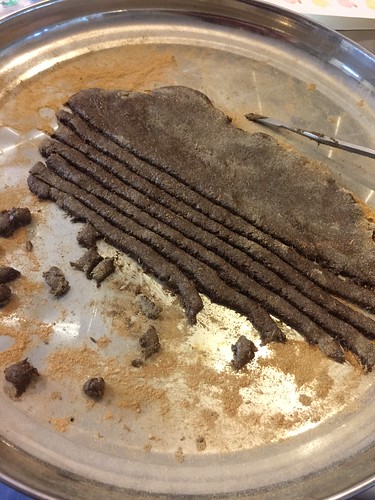
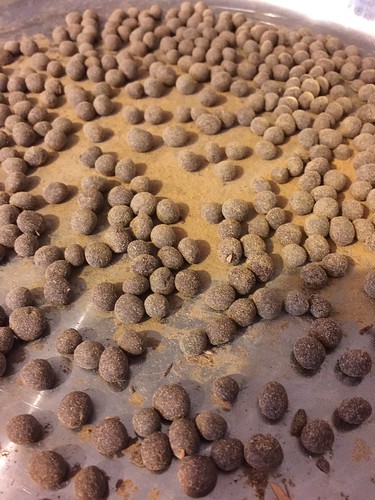
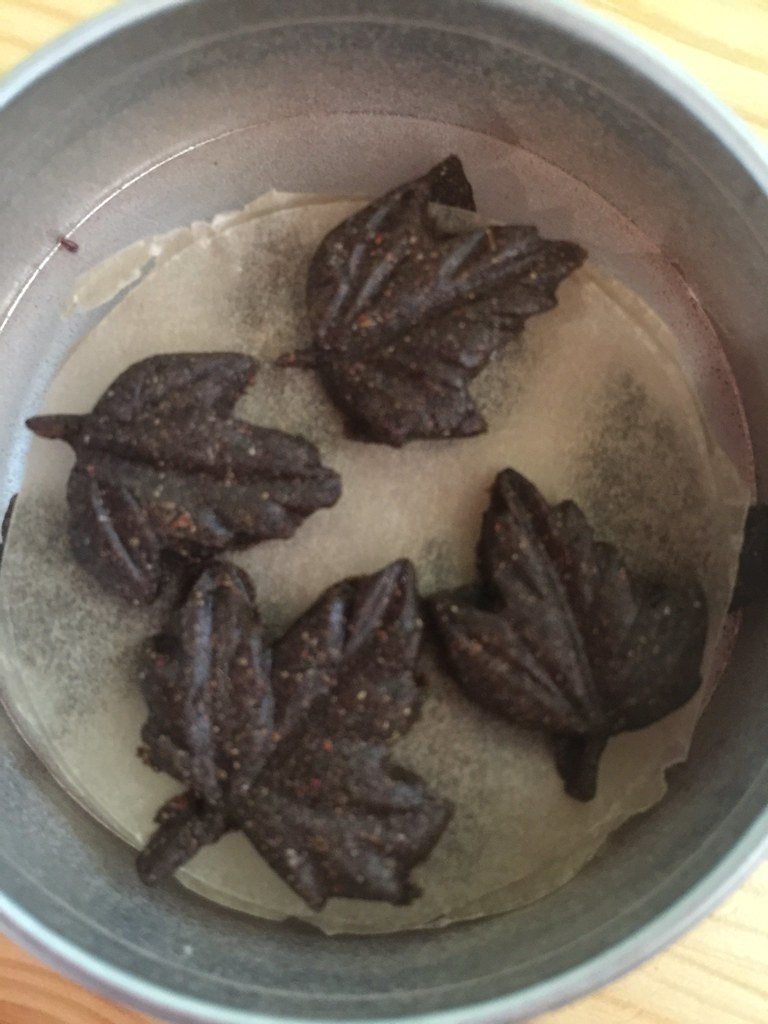
Autumn was a perfect candidate, as Nerikoh is traditionally used in tea ceremonies in the fall season.  Additionally, it being a Chypre Fruity with spicy notes and labdanum gave it an extra advantage over most of my other perfumes. Labdanum is one of the classic notes in Japanese Neirkoh, and along with the sticky dried apricot fruit, that would have been a great way to bring both worlds together. Other traditional incense materials are sandalwood, cinnamon and cloves, which are also in the perfume. Of course it has some oakmoss too! An early burn over a tea light smells promising already. Sweet yet earthy, complex yet brings on a feeling of serenity of fallen leaves. I even went as far as molding some into maple leaf shapes. And now I regret not doing it with the rest. The experiment seems to have gone well, so there will be more shaped incense pellets to come.  I just have to be sure they don't get suck inside the mold or break once they dried, before meticulously shaping an entire batch. And then there is also the question of packaging...

The Autumn Leaves Nerikoh won't be ready till fall, as they need at least six months to cure or age - and this is a shortcut: traditionally they will be buried in the ground in a clay vessel for 3-4 years! That means they will be ready around Halloween. I can't wait to smell them then, when the temperatures here will finally become cooler again after a long summer.

Ras El Hanout Incense, Three Ways

Ras El Hanout Incense, Three Ways
I ran out of my Ras El Hanout mixture (which I always make myself, using very peculiar spices from my overflowing spice rack). You can see some of them in the images below (how many of them can you guess?).
Ras El Hanout

Ras El Hanout

Ras El Hanout
Most of the grinding is done the old fashioned way using mortar and pestle, as it should be. I believe it is a more direct connection to the material because this way I can smell them as I crrrrrrrush them! Whatever I'm unable to grind fine enough, I will pass on to the electric grinder. I kept most of it for my cooking (nothing beats a homemade couscous topped with a homemade couscous stew spiced with my very own Ras El Hanout!). But some I just felt compelled to burn as incense.
Ras El Hanout Nerikoh Snake
My first idea was making it into nerikoh (kneaded incense, which is not actually burnt but placed on a hot micah plate). Nerikoh traditionally uses honey or plum paste. For this experiment I used a combination of dates and honey. I named these Oasis Nerikoh.
In the picture you are seeing the incense dough shaped as a spiral, and waiting to be hand-rolled into tiny balls.
Ras El Hanout Nerikoh
Ras El Hanout Nerikoh (kneaded incense balls), rolled into a mixture of ras el hanout and sandalwood powder.
Ras El Hanout Incense Sticks
My second attempt at making incense sticks! Practice will eventually make perfect I hope.
 Ras El Hanout Incense, Three Ways
The whole line up, from top to bottom: Ras El Hanout Incense cones, norikoh, incense sticks.
Ras El Hanout Incense, Three Ways
Here they are, all dried up and ready to use! The ornamental brown ceramic dish in the background is my aromatherapy diffuser, which I use to heat up nerikoh.

Incense Course Begins!

Incense Workshop
Today I began teaching my first incense course - a series of incense classes, covering the main burning styles and incense making techniques. Using natural raw materials only, such as precious resins, gums, woods, spices and herbs, we will pulverize, grind and mix together raw materials that were used in incense making since time immemorial.  I am very excited for this workshop - because it is taught to a very special group of women, and also is giving me the push to improve my incense making skills and learn new techniques!

Here's what's planned for the course:

1. Smudge Wands
Introduction to incense history and raw materials. Forage botanicals for making incense wands/smudge stick from wild and local medicinal herbs.

2. Loose Incense
Spotlight on resins and composition of a loose incense using resins, herbs and spices.

3. Kyphi
Relying on an ancient Egyptian recipe, we'll pulverize and grind various resins, herbs, precious woods and spices in a mixture of wine and raisins, and create small pellets that can be burned on a charcoal or electric incense heater or diffuser. You'll be able to pick up the Kyphi you made after a week (or get it mailed to you).

4. Incense Pastilles
Incense "candy" that is made of various type of resins, with added liquid, rolled into balls and burnt on charcoal or on aromatherapy diffuser).
Very suitable for children, as this type of incense is faster to make and does not require long drying time, and can be taken home the same day.

5. Neirkoh
Japanese incense pastilles - like soft incense caramels that are designed for warming on a hot plate rather than burning. Made from complex aromatics and aged for several months.

6. Incense Trails & Body Incense
Unique Japanese technique for incense burning, as well as perfuming the body or cleansing before entering temples for prayer and meditation. This class also serves as preparation for the most complex form of combustible incense.

7. Incense Cones
More technically advanced, this incense is hand-shaped into little cones that can stand on their base and are self burning - just like the more familiar joss-sticks, once they are ignited, they burn slowly from the tip to the bottom. Preparing them requires fine balancing of the ingredients and meticulous shaping, therefore taking much longer. You'll be able to pick up the cones you made after a week (or get them mailed to you).

Nerikoh

Handful of Nerikoh

Here's a handful of shaped and rolled nerikoh - incense balls from a Saturn planetary blend. The last one to complete my series of Planetary Incense Pastilles. It was a long journey to get to this point, so let me share the steps with you. Unbeknownst to you, I hav been working on a series of incense pastilles for the Seven Ancient Planets. It all went swimmingly well (not counting the years of trial and error prior to that, which began in 2001 when I first tried to make such pastilles, and abandoned it pretty quickly to move onto making the perfumes you've been enjoying all these years).

When I came to compounding the incense for Saturn, I got stuck. I went back to some of the ingredients I've used originally, and that are associated with Saturn: Myrrh, cassia, patchouli, vetiver, cedar and cypress. I changed the formulation to make it a little less harsh. Also I had actual Arizona cypress, which smells amazing - both leaves and twigs - added to this blend, rather than cypress essential oil which I used in the original formula. I was rather happy with the smell albeit it dry and bitter/acrid character (which is rather typical to Saturn energy). However, there was one problem: despite the large amount of resin, these did not form into pastilles when alcohol was added. I really did not want to turn these into incense cones. After consulting some of my incense friends, they've advised me to turn these into Nerikoh, which are Japanese incense pastilles. These are made with any compounded fragrant woods, spices and resins but are glued together with sweet sticky materials such as plums or honey.

Nerikoh for Rosh HaShanah

I made a tiny experiment with just one ball of Nerikoh before leaving for my trip to Canada. It worked well, and didn't get super hard, even though I added some makko powder prior (with the thought of turning this into incense cones). Adding honey to my Saturn planetary incense blend on Rosh Hashanah seems very appropriate. And this is what I did on Rosh Hashanah even. Of course, I added too much honey, so I left it to dry for a few days... In the above photo you can see the first step in making Nerikoh. It looks and feels very much like baking - but smells quite different!

Nerikoh
Now the honey is all mixed in to form a dough. This has a very sticky consistency, not unlike the  honey cookies I make every year for Rosh Hashanah!

Shaping Nerikoh

Shaping the nerikoh begins with making a "pitta" from the sticky "dough" and scoring it into stripes and then further cutting into small tiny squares. From these we'll make little balls, as close in size as possible. The tricky part is that it's a very sticky dough! A little like making honey cookies for Rosh HaShanah. Of course, if your mass is less sticky than the one I made, it would be easier. I also imagine that having a better surface would also help. I imagine a granite or marble surface would be better than the screechy stainless steel I have here. Although it does work quite okay.

Making Nerikoh

Forming the nerikoh dough into tiny balls. A little like making minature chocolate truffles... But way stickier! I used extra powder of sandalwood to avoid stickiness. And even then I had to go over the balls several times in the following days because they kept sticking together. Blame it on humidity. Oh, and the overdose of honey which obviously haven't dried out quite well yet.

Nerikoh
Nerikoh is ready... Almost. Needs to be cured for 6 months though before it is properly dried and develops its full character. And then it can be warmed on a micah plate atop charcoal buried in ash to fully enjoy its aroma. This can be also done with an incense heater, or even an aromatherapy diffuser (a little bowl set above a tea light).


Back to the top